
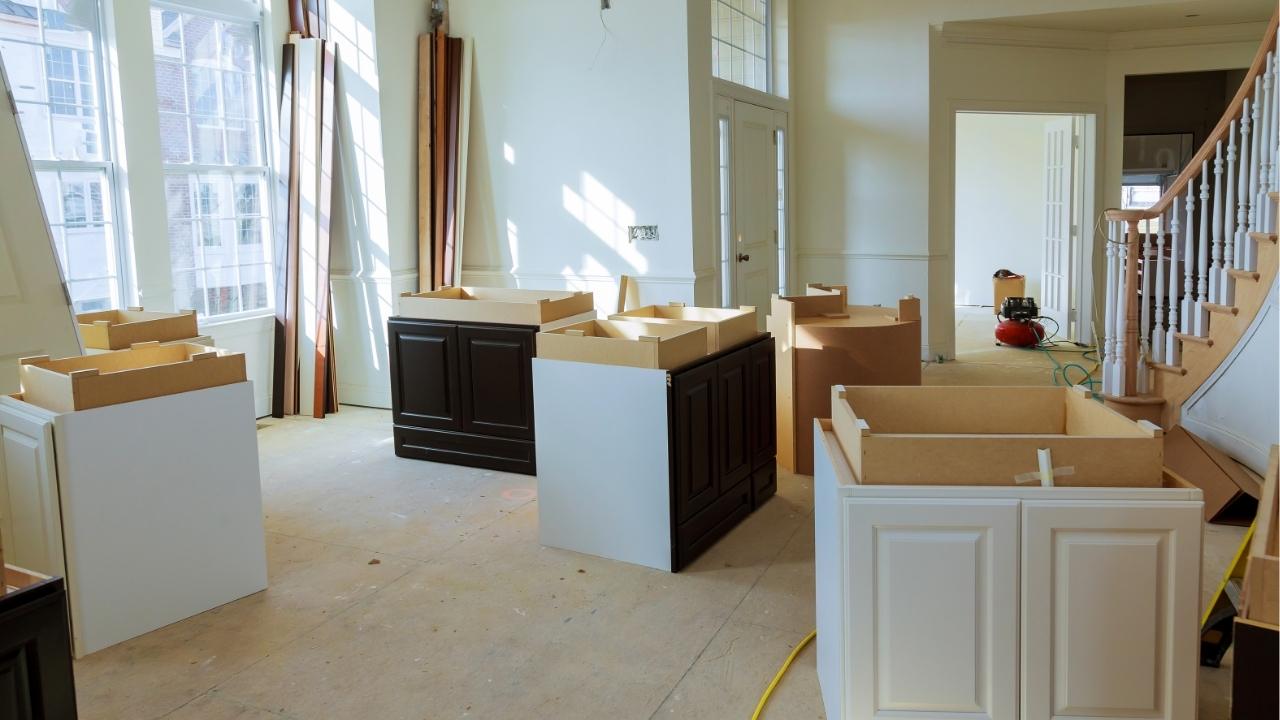
Remodeling Timeline: What Happens Week-by-Week
A home remodel can feel exciting at first, then overwhelming the moment walls open, dust appears, and decisions start stacking up. The good news? A clear timeline helps you know what to expect before the first hammer swings.
In this guide, you’ll learn how a typical remodel unfolds week by week, what causes delays, how homeowners can stay prepared, and why working with the right team makes the entire process smoother.
Week 1: Planning, Design, and Final Details
The first week is where the project gets real. Before construction begins, your contractor reviews the scope, confirms measurements, discusses materials, and checks that the schedule lines up with your goals.
If you are hiring a general contractor in Knoxville TN, this is the stage where you should expect honest guidance about permits, inspections, labor availability, and how your home will function while work is underway. For projects like kitchen remodeling, early planning matters because cabinets, countertops, plumbing fixtures, and appliance layouts must be coordinated before demolition starts. A bathroom renovation also needs careful planning since plumbing, waterproofing, ventilation, and tile choices can affect both cost and timing.
During this stage, homeowners usually finalize:
Material selections
Fixture finishes
Cabinet or vanity layouts
Flooring choices
Paint colors
Project access and work hours
Temporary living adjustments
This is also the best time to ask questions. Once demolition starts, changes become more expensive and can push the timeline back.
Week 2: Demolition and Site Preparation
Demolition is often the loudest and messiest part of the remodel. Old cabinets, flooring, drywall, tile, fixtures, or damaged materials are removed so the crew can see what is behind the walls and under the surfaces.
This is when hidden problems may appear. Your contractor might uncover outdated wiring, water damage, framing issues, mold, poor insulation, or previous repairs that were done incorrectly.
That does not always mean disaster. It simply means the project needs smart adjustments before moving forward.
A professional crew will usually:
Protect nearby rooms from dust
Set up debris removal
Turn off affected utilities safely
Remove old materials in stages
Inspect exposed areas
Prepare the space for rough-in work
Homeowners should expect noise, dust, and limited access to the work area. This week can feel chaotic, but it sets the foundation for everything that follows.
Weeks 3–4: Rough-In Work and Structural Updates
Once the space is cleared, the behind-the-scenes work begins. This includes electrical, plumbing, HVAC adjustments, framing repairs, or layout changes.
This stage may not look impressive yet, but it is one of the most important parts of the entire remodel. The walls are open, so this is the right time to move outlets, adjust lighting, reroute pipes, add ventilation, or correct structural issues.
Common rough-in tasks include:
Installing new wiring
Moving plumbing lines
Adding recessed lights
Adjusting wall framing
Installing blocking for cabinets or fixtures
Upgrading ventilation
Preparing for inspections
After rough-ins are complete, inspections may be required before walls can be closed. This step protects the homeowner and ensures the work meets local standards.
Weeks 5–6: Drywall, Flooring, Cabinets, and Surfaces
Now the remodel starts to look like a real room again. Drywall is installed or repaired, seams are finished, walls are primed, and flooring may begin depending on the project schedule.
Cabinets, vanities, tile, trim, and other visible features often start going in during this phase. This is also when homeowners begin to feel the transformation.
However, patience still matters. Drywall mud needs time to dry. Tile needs proper setting time. Cabinets need careful leveling. Rushing these steps can lead to cracks, uneven surfaces, or poor finishes later.
This phase may include:
Drywall installation and finishing
Flooring installation
Cabinet or vanity placement
Tile work
Interior trim
Countertop templating
Primer and first coats of paint
The project finally feels less like construction and more like progress.
Weeks 7–8: Fixtures, Finishes, and Final Details
The final weeks bring everything together. Fixtures are installed, lighting is connected, hardware goes on, appliances are placed, and paint touch-ups are completed.
This is also when small details matter most. A remodel can be technically complete but still feel unfinished if the final walk-through is rushed.
Your contractor should check:
Cabinet doors and drawers
Faucet and drain function
Light switches and outlets
Grout and caulking
Paint touch-ups
Appliance placement
Door alignment
Flooring transitions
Cleanup and debris removal
A good contractor will not treat the punch list as an annoyance. It is part of delivering the finished result you paid for.
What Can Delay a Remodeling Timeline?
Even with a strong plan, remodeling timelines can shift. Some delays are preventable. Others are simply part of working with existing homes.
Common causes include:
Late material deliveries
Permit or inspection delays
Hidden water or structural damage
Change orders from the homeowner
Custom cabinet or countertop lead times
Weather-related issues
Subcontractor scheduling conflicts
The best way to reduce delays is to make decisions early, order materials ahead of time, and stay responsive when your contractor needs approval.
Case Study: A Remodel That Stayed on Track
A Knoxville homeowner wanted to update an outdated main-level living space before hosting family for the holidays. The project included new flooring, lighting upgrades, cabinet refinishing, fresh paint, and minor layout adjustments. Instead of starting demolition right away, the contractor spent the first week confirming material availability and locking in subcontractor dates. When an electrical issue appeared during demolition, the team handled it before drywall repairs began. Because the homeowner made finish selections early, the project stayed close to schedule and wrapped up before guests arrived. The result felt fresh, functional, and far less stressful than the homeowner expected.
How Homeowners Can Prepare Before Work Begins
The smoother your preparation, the smoother the remodel.
Before construction starts, take time to:
Clear furniture and personal items from the work area
Create a temporary kitchen or bathroom setup if needed
Protect valuables in nearby rooms
Plan for pets and children
Confirm parking access for crews
Ask how daily cleanup will be handled
Keep all decisions and approvals in writing
A remodel affects your daily routine. Planning for that disruption helps you stay calm when the house feels upside down.
Why the Right Contractor Makes the Timeline Easier
A remodeling timeline is not just about speed. It is about sequencing the work correctly so the finished result lasts.
The right contractor keeps trades organized, communicates clearly, handles problems early, and explains what is happening before you have to ask. That kind of leadership matters because most homeowners do not remodel often. They need a guide, not just a crew.
A reliable contractor should provide:
A clear project scope
Realistic scheduling
Transparent pricing
Regular updates
Clean jobsite practices
Skilled trade coordination
Honest answers when issues come up
The goal is not just to finish the project. The goal is to finish it with fewer surprises, better workmanship, and a home you are proud to use every day.
Ready to Start Your Remodel?
A successful remodel starts long before construction begins. With the right timeline, the right planning, and the right contractor, your project can move from stressful idea to finished space with far more confidence.
If you are ready to improve your home, schedule a remodeling consultation today and take the first step toward a space that works better for the way you live.